
For anyone who is interested in DIY fashion, or if you just simply fancy trying something new, why not make your own hoodie? Here is how it can be done successfully, even if you are new to it.
Equipment:
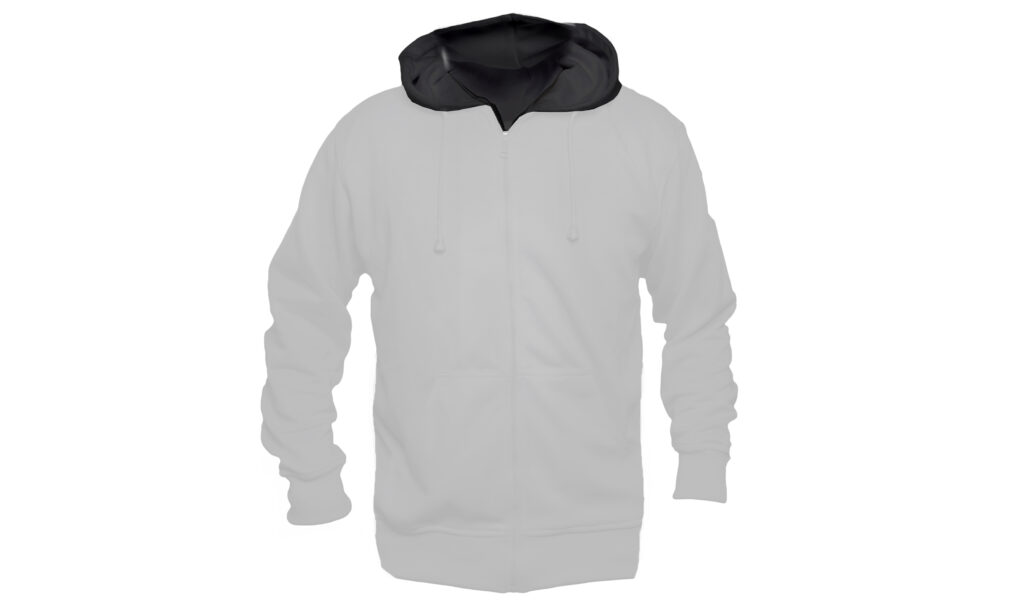
- A jumper/sweatshirt that fits you. You can order blank jumper/sweatshirt through Clothes2Order
- Some newspaper
- Scissors
- Sewing machine
- Fabric
- A zip
- Pencil/pen
- A ballpoint or stretch needle
- A cord to feed through your hood

Select your Pattern and Fabric
The first step to take for how to create a hoodie is to decide on the fabric which you are going to use, we recommend a black fleece. This is your basic hoodie fabric and will be great as a contrast with decorative ribbon, should you wish. You can sew it up in the same fabric or go as wild as you like.
Making the Hoodie
Firstly, measure yourself and then cut the patterns according to your size. Lay your cut-out fabric on a flat surface with the fleecy side facing up towards you and start planning your pattern to the fabric. If you are keeping all of the sections of your hoodie such as the hood, sleeves, arms, pockets, back and front all the same colour, then you can save yourself some time by cutting and folding the fabric under itself. You can then pin your pattern pieces onto the fabric.
If you’re going for something multi-coloured then you need to be laying both of the colours on top of one another. The fleecy sides should be touching and then you can pin the pieces of fabric together.
You should now have five pieces. 1 back, 2 front, 2 sleeves. In order to make your hoodie.
Body
Take the back piece and pin the front pieces to it. You should then be sewing down the side and along the shoulders. If you were to put this on now, it would look like a vest.

Pockets
Cut out your pockets. This is basically a square with a half circle cut out in one of the corners.
Pin the pockets into place on your main body of fabric. Part of the pocket should overlap on the fold – you want to sew that down. Now that it’s sewn, fold it over and pin the fold into place.
You will want a bottom band to your hoodie. This should be slightly shorter than the whole bottom so that you can stretch it a little as you sew it. This will give the bottom of your jumper a slightly snugger fit.
Now you want to pin the zip on the under folds but try and make sure it’s not lumpy. It needs to pin in place on either side of the front opening. The zip should start at the ½” seam allowance mark. If you have extra fabric at your neck then fold it down and make it look like a V-neck.

Sleeves
Simply take your sleeves and sew them up so that they look like sleeves should. Once you have done this, you can sew them onto the main piece. You want to make sure that everything is going in the right direction before sewing though, so check and then double check again that everything is where it’s supposed to be before you sew it together. Using the same material you used for band, make some cuffs. Measure the fabric around your wrists and then cut it out.

Hood
This is where it can get complicated so make sure that you’re really concentrating! This is where it becomes a hoodie vs a sweatshirt! At the top of your main body of fabric, you need to draw a neckline, measure it and then divide that number by half. This number is the length of the bottom part of your hood. The hood shape is completely up to you.
Now you need to cut two of those out from your main fabric and then two out of the lining fabric that you are using With the right sides facing one another sew along the edge of the main fabric and the lining. You should now have two separate hoods, one made out of the main fabric and the other being the inner lining. Still with the right side of the hoods facing each other, sew along the left side leaving the bottom unsewn. Now if you turn it right side out, you will have your hood.
This is the time you will add your drawstring if you wish. To do so you will need to poke holes in the bottom and stick a shoelace orbit of ribbon through it.
A tip to help your hoodie to stay in place is to iron each piece when you have sewn it together, but be careful as parts such as the zip could be really hot.
Customise Your Hoodie
Customising can be so rewarding and it’s easy too – whether you order in your design or create it yourself, its so fun.
If you already have an idea in mind then grab yourself a pencil and some paper and design it. There is nothing better than seeing an idea from your head, on paper. Try and draw it over and over again so that it is perfect and just how you want it.
For professional hoodie printing using our wide range of customisable hoodies, get in touch with our expert team today. Our team will also help you if you’re looking to order school leavers hoodies.
Don’t forget to check out our blog ‘how to customise a t shirt‘ for even more handy tips.
