Here at Clothes2order, we want to make sure we provide our customers with the best possible prints. Whilst we have the latest printing technology, including the Atlas – a cutting edge direct to garment printing machine from Kornit Digital, the quality of the print file itself can make a huge difference to the quality of the print produced. Because of this, our highly skilled artwork team have put together some tips to help you ensure you’re uploading the highest quality file you can.
What is DPI?
You may have seen on our website that we recommend artwork files to be a minimum of 200 DPI but what does DPI mean? DPI stands for dots per inch which measures the resolution of an image. The higher the DPI, the sharper your image is likely to be printed.
We measure the quality of a files DPI as the following:
- Excellent quality – minimum of 200 DPI
- Medium quality – between 130-200 DPI which is acceptable to most customers
- Low quality – below 130 DPI as it may produce a blurry print
Exporting PNG’s From Illustrator
When exporting a PNG from illustrator, you should use the highest resolution setting. When you go to export, click the options box and select resolution. From this select high (300PPI) with a transparent background. By doing this, it will help create a better quality file for your artwork.

Using Your Own fonts
If your design contains fonts, our artwork team recommend converting the font to an outline when using Photoshop. This is because may be using a font we don’t have access to on our machines, therefore we may have to use an alternative font. In order to avoid this, you can make the text an outline which will ensure it doesn’t change. Our artwork team have provided instructions below on how to create text outlines on Photoshop:
- STEP #1 – Choose the Selection Tool (shortcut = “V”)
- STEP #2 – Select your text (underlined in text format).
- STEP #3 – Select the “Type” window, then select “Create Outlines” (Mac shortcut = Shift/Command/O, PC shortcut = Shift/Control/O).
- STEP #4 – Your text should now be outlined in vector format.

Create The Perfect Rich Black
If you’re using black within your design, our artwork team recommend using a CMYK reference of C40/M40/Y40/K100. This will help you achieve a really good black colour for printing instead of a colour mix of C0/M0/Y0/K100.
Uploading Drawings To Be Printed
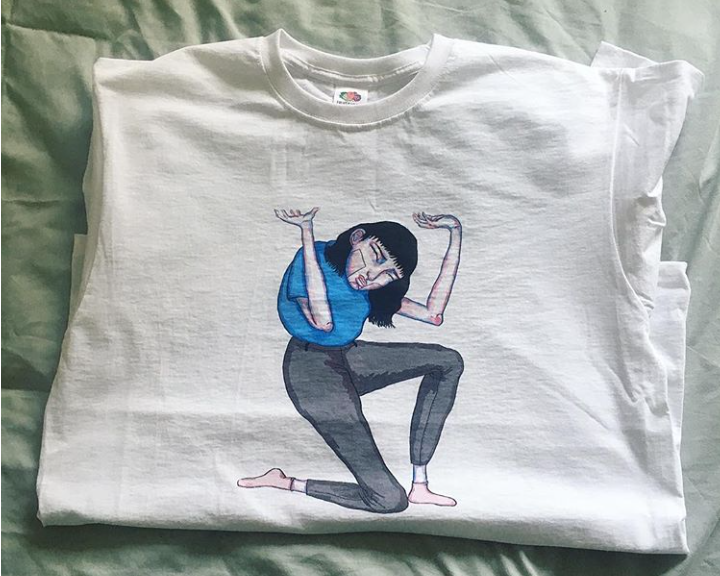
Many of our talented customers choose to have drawings printed onto their chosen garment which have been sketched onto paper. If you would like to take your design from paper to a t-shirt, then the best way to do this is to scan your artwork to your computer. When using a scanner, you are usually able to set the DPI of the scan. If so, you should set the DPI to a minimum of 200 to ensure the digital file is of excellent quality.

Additionally, we wouldn’t recommend taking an image of your artwork on your smartphone or tablet and uploading it to our website, however if you do need to, please make sure you take the image in a very well lit area and as straight as possible


